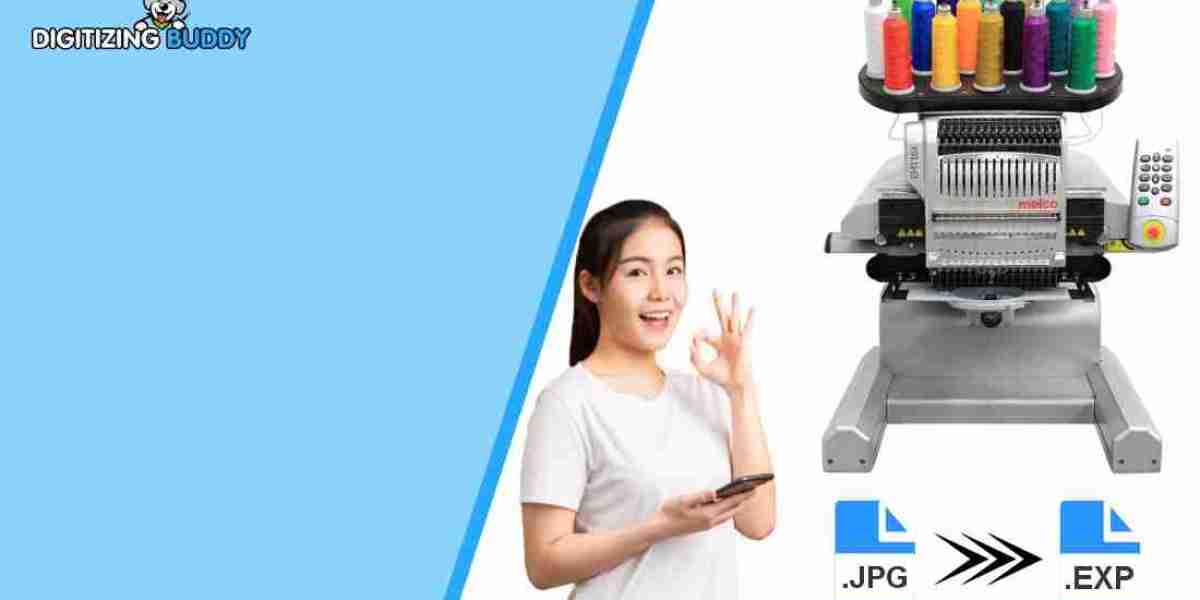

Have you ever found the perfect logo or picture for embroidery, only to discover that your embroidery machine cannot use the JPG file? This is a common problem for beginners and experienced embroidery users alike.
A JPG image works well for photos, logos, and digital artwork. However, an embroidery machine needs stitch instructions to sew that artwork onto fabric. This is where JPG to EXP embroidery file conversion becomes important.
Converting a JPG image into an EXP embroidery file involves more than changing the file extension. The artwork must be digitized so the machine knows where to stitch, which direction to follow, and when to change thread colors.
In this guide, you will learn how the conversion process works, which steps to follow, what mistakes to avoid, and how professional digitizing can help you achieve cleaner embroidery results.
What Is JPG to EXP Embroidery File Conversion?
JPG to EXP embroidery file conversion is the process of turning a regular image into a stitch-based design that an embroidery machine can read.
A JPG file contains pixels that create an image. It does not normally contain the stitch paths, needle movements, or thread settings needed for machine embroidery.
An EXP file, on the other hand, stores embroidery stitch data. Depending on the workflow and machine, related files may also be needed to manage thread colors and other design information.
Understanding JPG and EXP Files
Here is a simple comparison of the two formats:
| Feature | JPG File | EXP File |
|---|---|---|
| Main purpose | Display digital images | Store embroidery stitch instructions |
| Contains pixels | Yes | Not as its primary design representation |
| Contains stitch paths | No | Yes |
| Used directly by an embroidery machine | Usually no | Yes, on compatible machines |
| Can be edited as regular artwork | Yes, in image software | Usually requires embroidery software |
Think of a JPG as a picture of a house and an EXP file as the instructions for building it. The picture shows the result, but the instructions explain how to create it.
That is why proper digitizing is essential for successful JPG to EXP embroidery file conversion.
Why Convert a JPG Image to EXP Format?
Converting artwork into EXP format can help you prepare logos, lettering, symbols, and other graphics for machine embroidery.
Here are some common reasons to convert an image.
1. Prepare Logos for Embroidery
Businesses often want their logos stitched onto uniforms, polo shirts, jackets, caps, and workwear. A JPG logo provides a useful starting point, but it needs to be converted into stitch instructions before embroidery can begin.
Professional digitizing helps preserve the main shapes and details while adapting the artwork to thread and fabric.
2. Create Custom Embroidery Designs
You may want to embroider a personal drawing, team logo, simple illustration, or custom symbol. Converting the artwork into an EXP design can make this possible when the file is prepared correctly for your machine.
3. Improve Stitch Control
A properly digitized design lets you control important settings, such as:
Stitch type and direction
Stitch density
Underlay stitches
Thread color sequence
Pull compensation
Starting and stopping points
These settings affect how the design looks when stitched. Simply changing the file extension cannot create them.
4. Prepare Designs for Compatible Machines
EXP files are used in certain embroidery workflows, but compatibility depends on the machine model and its supported file requirements. Always check your machine manual before saving or transferring the design.
How to Convert JPG to EXP Embroidery File Format
The conversion process usually involves preparing the image, digitizing the artwork, adjusting the stitch settings, and exporting the finished design.
Follow these steps to get started.
Step 1: Choose a Clear JPG Image
Begin with a high-quality image. A clean image makes it easier to identify the shapes and details that need to become stitches.
For the best results, choose artwork with:
Clear outlines
Good contrast
Limited background details
Distinct color areas
Readable text and simple shapes
For example, a black logo on a white background is often easier to digitize than a blurry photograph with many colors and shadows.
If your JPG contains unwanted background elements, remove them before starting the conversion process.
Step 2: Prepare the Artwork
Open your JPG in an image editor and clean up the design.
Crop unnecessary areas, improve contrast, remove distracting backgrounds, and make sure the main shapes are easy to see. If the image contains text, check that the letters are clear and correctly spaced.
You may also need to recreate parts of the artwork as vector shapes. Vector artwork can make it easier to define clean outlines, although it still needs embroidery digitizing before it can become a usable EXP file.
Step 3: Import the Image into Embroidery Software
Open embroidery digitizing software that supports image tracing or artwork import.
Import the JPG as a reference image. Depending on the software, you may be able to trace shapes manually or use automatic tools to identify certain areas.
Automatic conversion can help with simple designs, but it may not produce suitable stitches without further editing. Always review the generated paths before exporting the file.
Step 4: Digitize the Design
Digitizing is the most important part of JPG to EXP embroidery file conversion.
During this stage, you turn the image into stitch objects. Each object needs suitable stitch settings based on its size, shape, position, and fabric requirements.
Common stitch types include:
Run stitches: Useful for fine lines, details, and outlines.
Satin stitches: Suitable for borders, narrow shapes, and some lettering.
Fill stitches: Used to cover larger areas with thread.
For example, a small circular logo may use satin stitches around its border and fill stitches inside its main shape.
The best stitch type depends on the design dimensions and the material being embroidered.
Step 5: Adjust Stitch Settings
After digitizing the artwork, review the settings carefully.
Stitch density: This determines how closely stitches are placed. Excessive density can make fabric stiff, cause thread breaks, or create puckering.
Underlay: These supporting stitches help stabilize the fabric and provide a base for the top stitches.
Pull compensation: Thread tension and fabric movement can affect the final shape. Pull compensation helps account for these changes.
Stitch direction: Suitable stitch angles can improve coverage and help different parts of the design appear balanced.
Color sequence: Arrange the thread colors in a practical order to reduce unnecessary stops and color changes.
These adjustments can make a major difference in the finished embroidery.
Step 6: Set the Correct Design Size
Before exporting the EXP file, confirm the design dimensions.
A logo intended for a small shirt pocket needs different settings from one intended for the back of a jacket. Shrinking a large design can make tiny details unreadable, while enlarging a small design can expose gaps or uneven stitching.
Check that the design fits within your machine's embroidery area and hoop size.
If the artwork includes small text, consider simplifying the lettering or increasing its size where possible.
Step 7: Export the Design as an EXP File
Once the stitch paths and settings are ready, use the export or save function in compatible embroidery software.
Select EXP as the output format if it is supported by your software. Follow any additional instructions for color information, machine compatibility, or companion files.
Do not simply rename logo.jpg to logo.exp. That changes the filename, not the file's internal structure.
After exporting, reopen the design in compatible embroidery software to confirm that it contains the expected stitches and dimensions.
Step 8: Preview and Test the Design
Before stitching the design onto a finished garment, review the stitch simulation if your software provides one.
Look for:
Gaps between objects
Overlapping stitch areas
Incorrect thread color order
Excessive stitch density
Poorly formed lettering
Unnecessary jumps or trims
If possible, sew a test design on a fabric similar to the final material. A test run helps you identify problems that may not be obvious on the screen.
Common Problems During JPG to EXP Embroidery File Conversion
Even a clear image can produce poor embroidery if the digitizing process is not handled correctly.
Blurry or Distorted Designs
Low-resolution images often contain unclear edges. These can make tracing difficult and lead to uneven embroidery shapes.
Solution: Start with the clearest available image. Recreate important outlines and simplify details that will not stitch well.
Missing Details in Small Logos
Fine lines and tiny letters may disappear when converted into stitches. Thread is thicker than a digital line, so not every visual detail can be reproduced at a small size.
Solution: Increase the design size, simplify small elements, or use suitable lettering settings.
Thread Breaks and Fabric Puckering
Dense stitching, poor underlay, unsuitable tension, and fabric movement can cause stitching problems.
Solution: Review density and underlay settings, choose suitable stabilizers, and test the design on the intended fabric.
Incorrect Colors
The colors shown in the original JPG may not match the thread colors used by your machine. Some EXP workflows may also require additional information to display or manage color changes correctly.
Solution: Check the color sequence in the digitizing software and confirm the required files for your machine.
The Machine Cannot Open the EXP File
An exported file may not be compatible with every embroidery machine or transfer method.
Solution: Check your machine's supported formats, file transfer instructions, and software requirements before exporting.
Tips for Better Embroidery Results
A few practical steps can improve the quality of your finished design.
Use simple artwork when possible. Clean shapes are usually easier to digitize than complicated images with many tiny details.
Choose the right fabric settings. Cotton, fleece, denim, and stretchy materials can respond differently to stitching.
Match the design to the hoop. Leave enough room for the machine to stitch without exceeding the embroidery area.
Avoid excessive density. More stitches do not always mean better coverage or higher quality.
Preview the stitch sequence. Review travel paths, trims, and color changes before sewing.
Test before production. A sample can reveal problems before you commit to an expensive garment.
Keep an editable source file. Save the original artwork and the editable digitized design so you can make changes later.
These practices help make JPG to EXP embroidery file conversion more reliable and reduce avoidable stitching issues.
DIY Conversion or Professional Embroidery Digitizing?
You can convert artwork yourself if you have compatible embroidery software and understand how stitch settings work. However, some designs require more experience than others.
When DIY Conversion Makes Sense
DIY digitizing may be suitable when:
The design is simple and uses a few colors.
You already have embroidery digitizing software.
You want to learn how stitch types and settings work.
You have time to test and correct the design.
When to Choose Professional Digitizing
Professional help can be useful when your artwork contains detailed logos, small lettering, curved outlines, or complex shapes.
An experienced digitizer can adjust the design for the intended fabric, embroidery size, and machine requirements. This can reduce trial and error and help produce more consistent results.
Digitizing Buddy can be considered when you need support preparing artwork for machine embroidery. Before ordering a design, share the original image, the required EXP format, the target dimensions, and your machine model. These details help ensure that the digitized file meets your needs.
Is JPG to EXP Embroidery File Conversion Always Accurate?
No conversion process can guarantee that every detail in a JPG will look exactly the same when stitched.
A digital image uses pixels, while embroidery uses thread, stitch direction, fabric, and physical movement. Small details may need to be simplified, and some color differences are normal.
The quality of the result depends on several factors:
Original image quality
Digitizing skill
Design dimensions
Stitch type and density
Fabric and stabilizer
Machine setup and thread tension
The goal is not just to reproduce the image on a screen. It is to create a stitch design that looks clean and works well on the intended material.
Conclusion
JPG to EXP embroidery file conversion helps turn ordinary digital artwork into a design that a compatible embroidery machine can stitch. However, the process requires more than changing a file extension.
For reliable results, begin with a clear image, prepare the artwork, digitize the shapes, adjust stitch settings, and export the design using compatible software. Always check the file before production and test it on suitable fabric whenever possible.
If you are working with a business logo or a detailed design, professional digitizing can help reduce mistakes and improve the final result. With the right preparation and attention to detail, you can create embroidery designs that look clean, balanced, and ready for production.
FAQs About JPG to EXP Embroidery File Conversion
1. Can I convert a JPG directly to an EXP embroidery file?
Not by simply changing the extension. The JPG artwork must be digitized into stitch instructions and then exported in EXP format using compatible embroidery software.
2. What software do I need for JPG to EXP embroidery file conversion?
You need embroidery digitizing software that can import or trace JPG artwork, create stitch objects, and export EXP files. Check the software's format support before starting.
3. Can I convert a JPG to EXP for free?
Some tools offer free image tracing or basic embroidery features. However, free conversion options may provide limited stitch control or require manual corrections. Check whether the tool can export a valid EXP file for your machine.
4. Will my EXP file work on every embroidery machine?
No. EXP compatibility depends on the machine model, software, and workflow. Check the machine manual and confirm whether additional color information or companion files are required.
5. How can I get better results when converting JPG to EXP?
Use clear artwork, simplify tiny details, select appropriate stitch types, adjust density and underlay, and check the design in a stitch simulator. Test the design on similar fabric before embroidering the final item.